How to Install a Honeywell Thermostat: Step-by-Step Guide
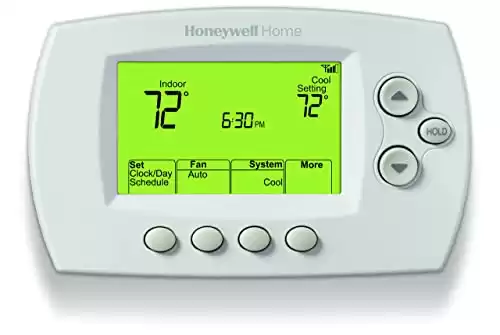
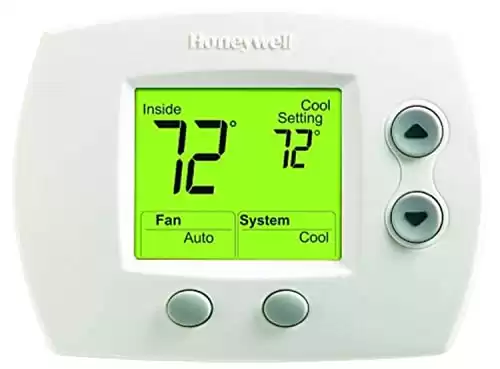
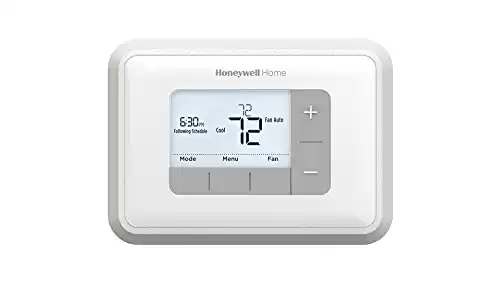
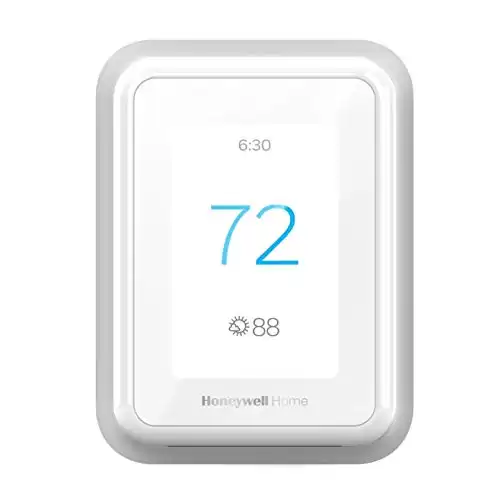
When it comes to maintaining optimal home comfort and energy efficiency, a reliable thermostat is a must-have. Honeywell thermostats have gained a reputation for their superior quality and advanced features. This step-by-step guide will walk you through installing a Honeywell thermostat, perfect for DIY enthusiasts looking to upgrade their home’s temperature control system.
Gathering the Necessary Tools and Materials:
Before you begin the installation, gather the necessary tools and materials. You will typically require a screwdriver, wire stripper, electrical tape, and a level. Ensure you have these items on hand to streamline the installation process. Consider safety precautions, such as turning off the power to your HVAC system, before starting the installation.
Understanding Your Existing HVAC System:
To install the correct Honeywell thermostat model, it’s important to understand your existing HVAC system. Different systems, such as central heating and cooling or heat pumps, have varying compatibility requirements. Take the time to identify the type of system in your home before proceeding. This will ensure you select a Honeywell thermostat that works seamlessly with your HVAC system.
Removing the Old Thermostat:
Before installing the new thermostat, you need to remove the old one. Start by carefully removing the thermostat cover and exposing the wires connected to it. Take note of the wire terminals and label them to make the wiring process easier later on. If you encounter any issues during the removal process, refer to the troubleshooting tips provided in the installation guide.
Wiring the New Honeywell Thermostat:
With the old thermostat removed, it’s time to wire the new Honeywell thermostat. Familiarize yourself with the Honeywell thermostat’s wiring terminals and their functions. Match the labeled wires from the old thermostat to the appropriate terminals on the new thermostat. Take extra care to ensure secure connections to prevent any loose or exposed wires.
Mounting and Configuring the Honeywell Thermostat:
Select a suitable location for mounting your new thermostat. Consider placing it in an area away from direct sunlight and drafts for accurate temperature readings. Attach the thermostat base to the wall using the provided screws and a level to ensure it is straight. Once mounted, follow the manufacturer’s instructions to configure and program your Honeywell thermostat according to your preferences.
Testing and Troubleshooting:
After installation, it’s crucial to test the thermostat’s functionality. Adjust the temperature settings and observe if the HVAC system responds accordingly. If you encounter any issues, consult the troubleshooting section of the installation guide. In case the problem persists, don’t hesitate to contact Honeywell customer support for further assistance.
Additional Features and Advanced Options:
Honeywell thermostats offer various advanced features to enhance your home’s temperature control system. Explore options such as Wi-Fi connectivity, voice control compatibility, and remote access through smartphone apps. Consider incorporating additional accessories and sensors to further optimize your thermostat’s capabilities and energy efficiency.
Thermostat Maintenance and Energy-saving Tips:
To ensure the longevity and efficiency of your Honeywell thermostat, regular maintenance is crucial. Clean the thermostat periodically and remove any dust or debris that may accumulate. Additionally, follow energy-saving practices such as setting appropriate temperature schedules and utilizing programmable settings to reduce energy consumption and save on utility bills.
Here are frequently asked questions and their answers about installing a Honeywell thermostat:
1. Q: Do I need professional assistance to install a Honeywell thermostat?
A: No, Honeywell thermostats are designed for easy installation, and you can typically install them yourself. However, if you’re unsure or uncomfortable with the process, it’s always a good idea to consult a professional.
2. Q: Can I install a Honeywell thermostat if I have a different brand of HVAC system?
A: Yes, Honeywell thermostats are compatible with a wide range of HVAC systems, including those from other brands. Just ensure that you choose a Honeywell model that supports your specific system type.
3. Q: What tools do I need to install a Honeywell thermostat?
A: The tools you’ll typically need include a screwdriver, wire stripper, electrical tape, and a level. However, the specific tools required may vary depending on your installation scenario, so refer to the installation guide for details.
4. Q: Will installing a Honeywell thermostat void my HVAC system warranty?
A: Generally, installing a thermostat yourself won’t void your HVAC system warranty. However, it’s always a good idea to review your warranty terms or consult the manufacturer to ensure compliance.
5. Q: Can I install a Honeywell Wi-Fi thermostat if I don’t have an existing Wi-Fi network?
A: Yes, you can still install a Honeywell Wi-Fi thermostat even if you don’t have an existing Wi-Fi network. However, to enjoy the full functionality, you’ll need to set up a Wi-Fi network in your home.
6. Q: How do I know which wire connects to which terminal on the Honeywell thermostat?
A: The best way to ensure correct wiring is to label the wires before removing the old thermostat. Match the labeled wires to the corresponding terminals on the new Honeywell thermostat following the provided instructions.
7. Q: Can I use the existing thermostat wires for my new Honeywell thermostat?
A: In most cases, you can use the existing thermostat wires for the new Honeywell thermostat. However, it’s essential to check the compatibility and requirements of your specific Honeywell model.
8. Q: Can I control my Honeywell thermostat remotely through my smartphone?
A: Yes, many Honeywell thermostat models offer remote control functionality through smartphone apps. Ensure that your chosen model supports this feature and follow the instructions to set it up.
9. Q: What should I do if I encounter problems during the installation process?
A: If you encounter any difficulties during installation, consult the troubleshooting section in the installation guide. You can also contact Honeywell customer support for assistance or visit their online support resources.
10. Q: Is it necessary to program a Honeywell thermostat after installation?
A: While it’s not mandatory, programming your Honeywell thermostat allows you to set temperature schedules that align with your daily routine, saving energy and optimizing comfort. It’s recommended to take advantage of the programmable features available.
Remember, always refer to the specific instructions and documentation provided with your Honeywell thermostat for accurate and detailed information related to your particular model and installation scenario. Installing a Honeywell thermostat is a rewarding DIY project that can significantly enhance your home’s comfort and energy efficiency. Remember to explore other Honeywell smart home products for a comprehensive home automation experience, and enjoy the benefits of a perfectly controlled environment all year round.

