The Ultimate Guide to Honeywell Thermostats: Choosing the Right Model
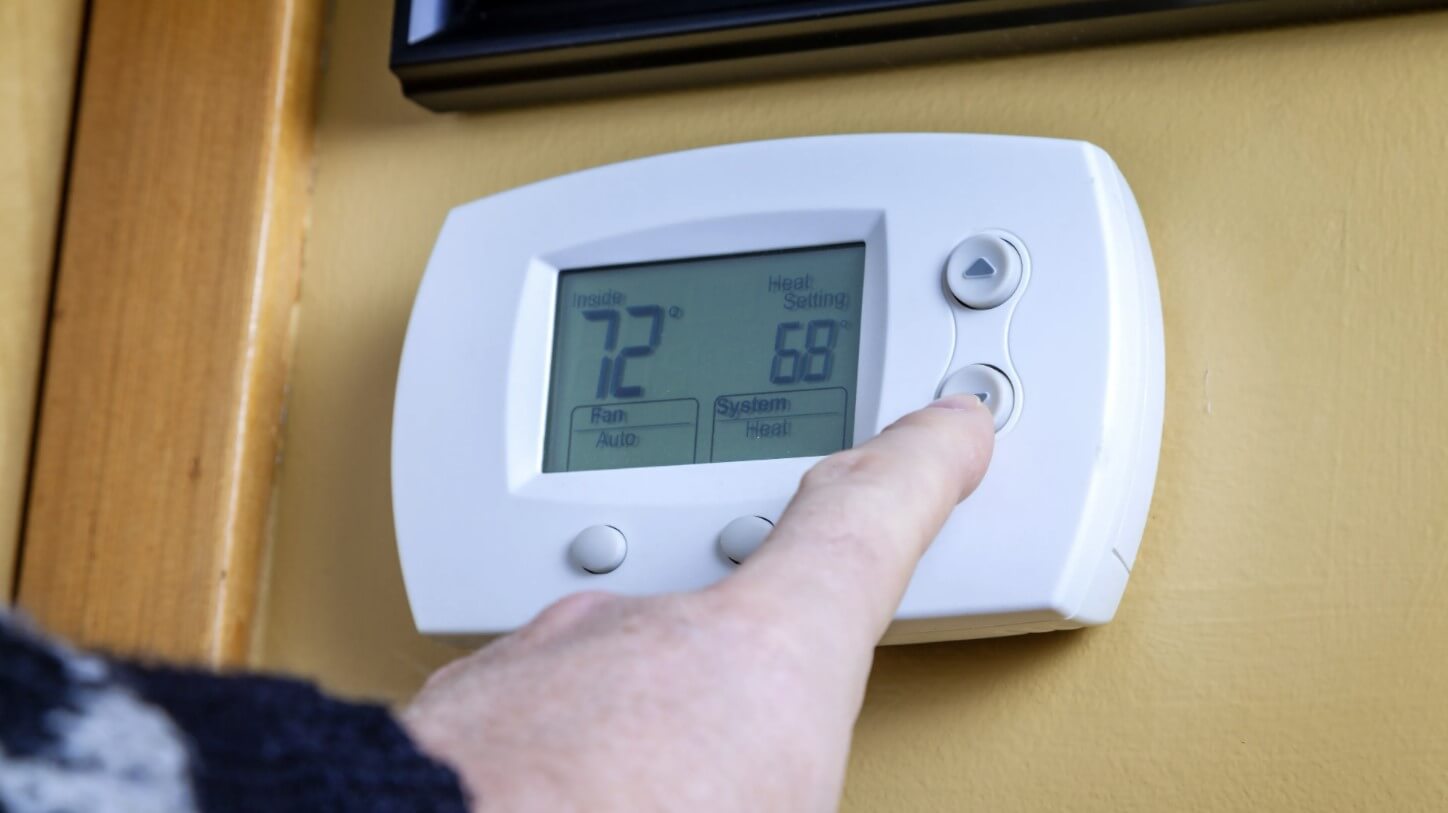
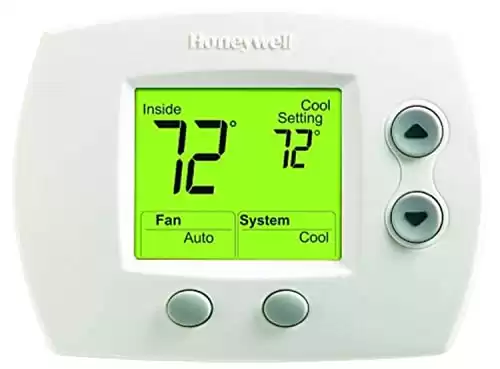
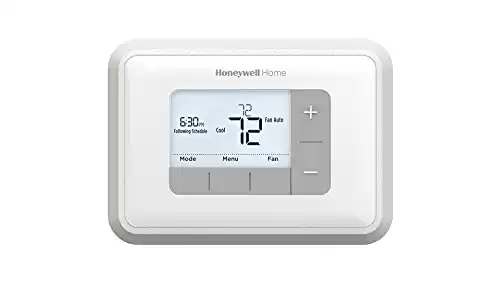
Choosing the right home thermostat is a priority for optimal comfort and energy efficiency. With numerous options available in the market, it can be overwhelming to find the perfect fit. However, one brand that stands out in the world of thermostats is Honeywell. Renowned for its innovative technology and reliability, Honeywell offers a range of thermostat models to suit different needs and preferences. In this guide, we will explore the key factors to consider when choosing a Honeywell thermostat, provide an overview of popular models, and offer a step-by-step guide to help you make an informed decision.
Understanding Honeywell Thermostats
Honeywell has a rich history in thermostat technology, dating back decades. Their expertise in the field has made them a trusted name among homeowners and professionals alike. Honeywell thermostats are known for their precision, user-friendly interfaces, and advanced features. Whether you’re looking for a basic programmable or smart thermostat with Wi-Fi connectivity, Honeywell has options to meet your requirements.
Factors to Consider When Choosing a Honeywell Thermostat
1. Compatibility with your HVAC system: Before selecting a thermostat, it’s crucial to ensure compatibility with your heating, ventilation, and air conditioning (HVAC) system. Honeywell provides compatibility charts and online tools to help you determine which thermostat models work with your specific HVAC setup.
2. Heating and cooling needs of your home: Consider the size of your home, the number of heating and cooling zones, and any specific requirements such as multi-stage heating or cooling. Honeywell offers thermostats designed for various heating and cooling systems, including conventional furnaces, heat pumps, and radiant heating.
3. Programming and scheduling options: Honeywell thermostats have programmable features that allow you to set temperature schedules based on your daily routines. Some models offer advanced scheduling capabilities, allowing you to create personalized temperature settings for different days and times.
4. Smart thermostat capabilities and connectivity: Honeywell’s smart thermostats are worth exploring if you prefer enhanced control and convenience. These thermostats can be controlled remotely through smartphone apps, offer energy usage insights, and may integrate with other smart home devices.
5. Energy efficiency and cost savings: Look for thermostats with energy-saving features, such as adaptive recovery, which learns how long it takes to heat or cool your home and adjusts accordingly. Honeywell thermostats often have Energy Star certifications, indicating their energy efficiency.
6. User interface and ease of use: Consider the thermostat’s display size, touchscreen capabilities, and user-friendly interface. Honeywell thermostats generally have intuitive interfaces that make navigating settings and temperature adjustments easy.
7. Additional features and accessories: Honeywell offers a range of additional parts and accessories to enhance the functionality of their thermostats. These may include wireless remote sensors, humidity control, and voice control compatibility. Assess your specific needs and preferences to determine which features are essential.
Overview of Popular Honeywell Thermostat Models
1. Honeywell Wi-Fi Smart Thermostat:
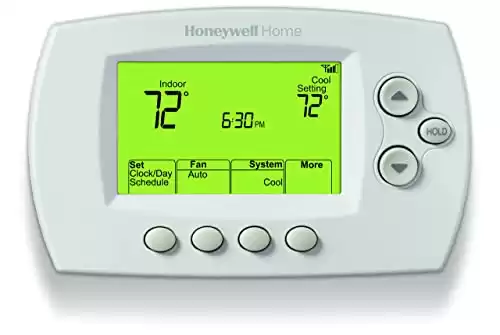
The Honeywell Wi-Fi Smart Thermostat is a versatile option with Wi-Fi connectivity, allowing you to control your thermostat remotely through the Honeywell mobile app. It offers energy-saving features, advanced scheduling, and compatibility with various HVAC systems. User reviews praise its ease of use and reliable performance.
2. Honeywell Lyric T5/T6 Pro Wi-Fi Thermostat:
The Lyric T5/T6 Pro Wi-Fi Thermostat combines affordability with advanced features. It offers geofencing capabilities, allowing the thermostat to adjust settings based on your location. The T6 Pro model is compatible with Apple HomeKit, Google Assistant, and Amazon Alexa for seamless smart home integration.
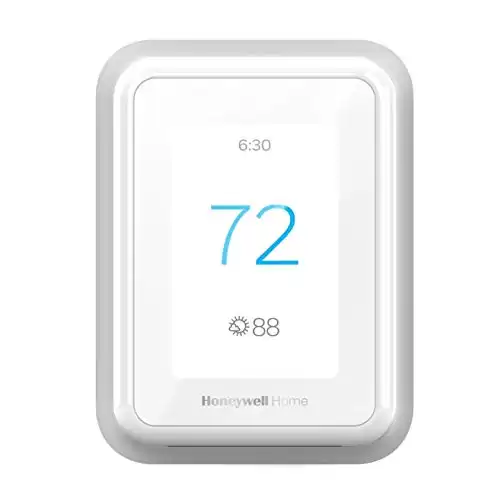
3. Honeywell Home T9/T10 Pro Smart Thermostat:
The Honeywell Home T9/T10 Pro Smart Thermostat offers advanced zoning capabilities with wireless remote sensors, making it ideal for larger homes with multiple zones. It provides precise temperature control and intuitive scheduling. The T10 Pro model is designed for professional installation and offers enhanced compatibility.
Step-by-Step Guide to Choosing the Right Honeywell Thermostat
1. Assess your heating and cooling needs:
Determine the type of HVAC system you have, the number of heating and cooling zones, and any specific requirements.
2. Determine compatibility with your HVAC system:
Consult Honeywell’s compatibility charts or use their online tools to identify which thermostat models are compatible with your HVAC system.
3. Consider your programming and scheduling preferences:
Decide whether you need basic programmable features or more advanced scheduling options based on your daily routines.
4. Evaluate smart thermostat capabilities:
If you desire remote control and smart features, explore Honeywell’s range of smart thermostats and consider their compatibility with your smartphone and other smart home devices.
5. Factor in energy efficiency and cost savings:
Look for thermostats with energy-saving features and Energy Star certifications to optimize energy efficiency and reduce utility costs.
6. Compare user interface and ease of use:
Consider the display size, touchscreen capabilities, and user-friendly interface to ensure comfortable and intuitive usage.
7. Look for additional features and accessories:
Assess the availability of accessories like wireless remote sensors, humidity control, voice control compatibility, and other features that align with your preferences.
Installation and Setup
After choosing the right Honeywell thermostat, it’s important to follow the manufacturer’s instructions for installation and setup. While homeowners can install some thermostats, others may require professional assistance. Ensure that you connect and configure the thermostat with your home’s Wi-Fi network to enable remote control and smart features.
Installing a Honeywell thermostat typically involves several steps. Here’s a general guide to help you with the installation process:
1. Preparation:
– Make sure you have the necessary tools, including a screwdriver, wire strippers, and electrical tape.
– Turn off power to your HVAC system by switching off the corresponding circuit breaker.
2. Remove the old thermostat:
– Remove the thermostat cover by gently pulling or sliding it off.
– Take note of the wires connected to the terminals and their corresponding labels. If there are no labels, use masking tape to label each wire for identification.
– Loosen the screws or clips securing the wires and carefully disconnect them from the terminals.
– Remove the mounting plate from the wall, exposing the wiring.
3. Mount the new thermostat:
– Honeywell thermostats usually come with a mounting plate. Position the plate on the wall and use a level to ensure it is straight.
– Mark the locations for screw holes, and then drill pilot holes if necessary.
– Secure the mounting plate to the wall using screws or other provided mounting hardware.
4. Wire the new thermostat:
– Refer to the wiring diagram provided with your Honeywell thermostat or the instruction manual.
– Strip the ends of the wires if necessary, exposing approximately 1/4 inch (6 mm) of bare copper.
– Match each wire to its corresponding terminal on the thermostat, and insert them into the appropriate slots. Ensure the connections are secure.
– If your thermostat requires a C-wire (common wire) and your previous thermostat didn’t have one, you may need to connect the C-wire to your HVAC system. Refer to the manual or consult a professional if needed.
5. Attach the thermostat to the mounting plate:
– Align the thermostat with the mounting plate and gently push it into place until it snaps or locks.
– Ensure it is securely attached and level.
6. Restore power and test:
– Turn on the circuit breaker to restore power to your HVAC system.
– Set the thermostat to your desired temperature and observe if your heating or cooling system starts operating correctly.
– Test all the modes and settings to ensure the thermostat is functioning as expected.
Note: The steps provided here are a general guideline, and the specific instructions may vary depending on the model and features of your Honeywell thermostat. Always refer to the instruction manual provided with your specific thermostat for detailed installation instructions. If you are unsure or uncomfortable with the installation process, it’s recommended to consult a professional HVAC technician for assistance.
Summary
Selecting the right home thermostat is essential for optimal comfort and energy efficiency. Honeywell offers a diverse range of thermostat models, each catering to different needs and preferences. You can make an informed decision by considering factors like compatibility, heating and cooling requirements, programming options, smart features, energy efficiency, and user interface. Remember to follow installation instructions carefully to ensure proper setup. With a Honeywell thermostat that suits your home, you’ll enjoy greater control, enhanced energy savings, and a more comfortable living environment.

