Step-by-Step Guide: Installing Under the Sink Water Filters
Installing an under-the-sink water filter can be a cost-effective and convenient solution to improve the quality of your drinking water. This guide will walk you through the step-by-step process of installing under-the-sink water filters to ensure you have clean and fresh water at your fingertips.
Purchasing A Under the Sink Water Filter
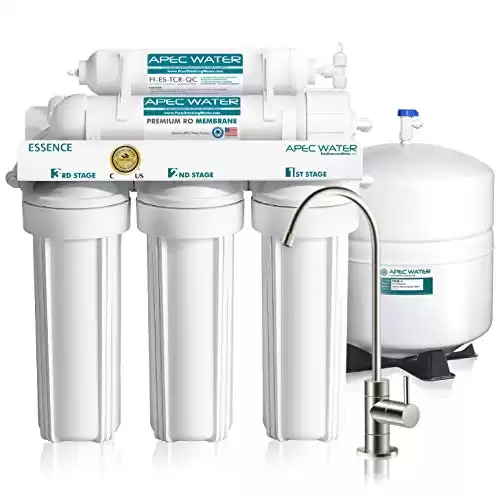
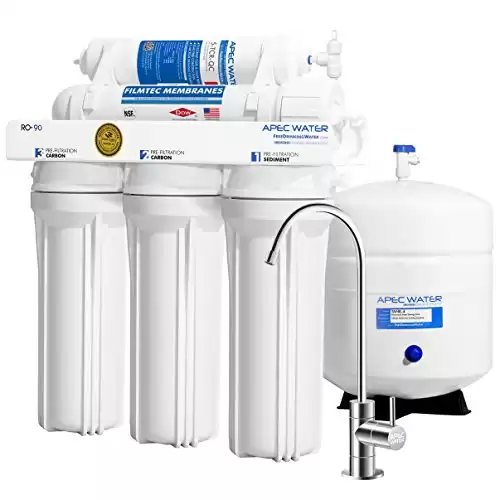
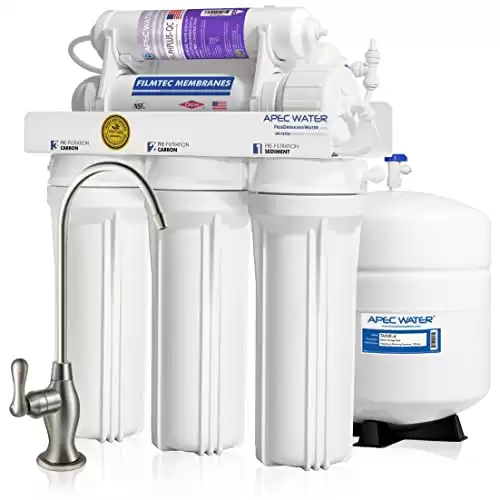
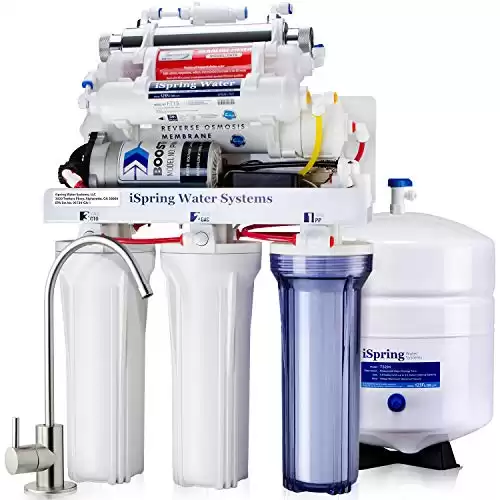
The cost of under-the-sink water filters can vary depending on several factors, including the brand, type of filtration system, and the specific features and technologies included. On average, you can expect to find under-the-sink water filters priced between $100 and $500. However, it’s important to note that this is a general price range and there are filters available at higher or lower price points.
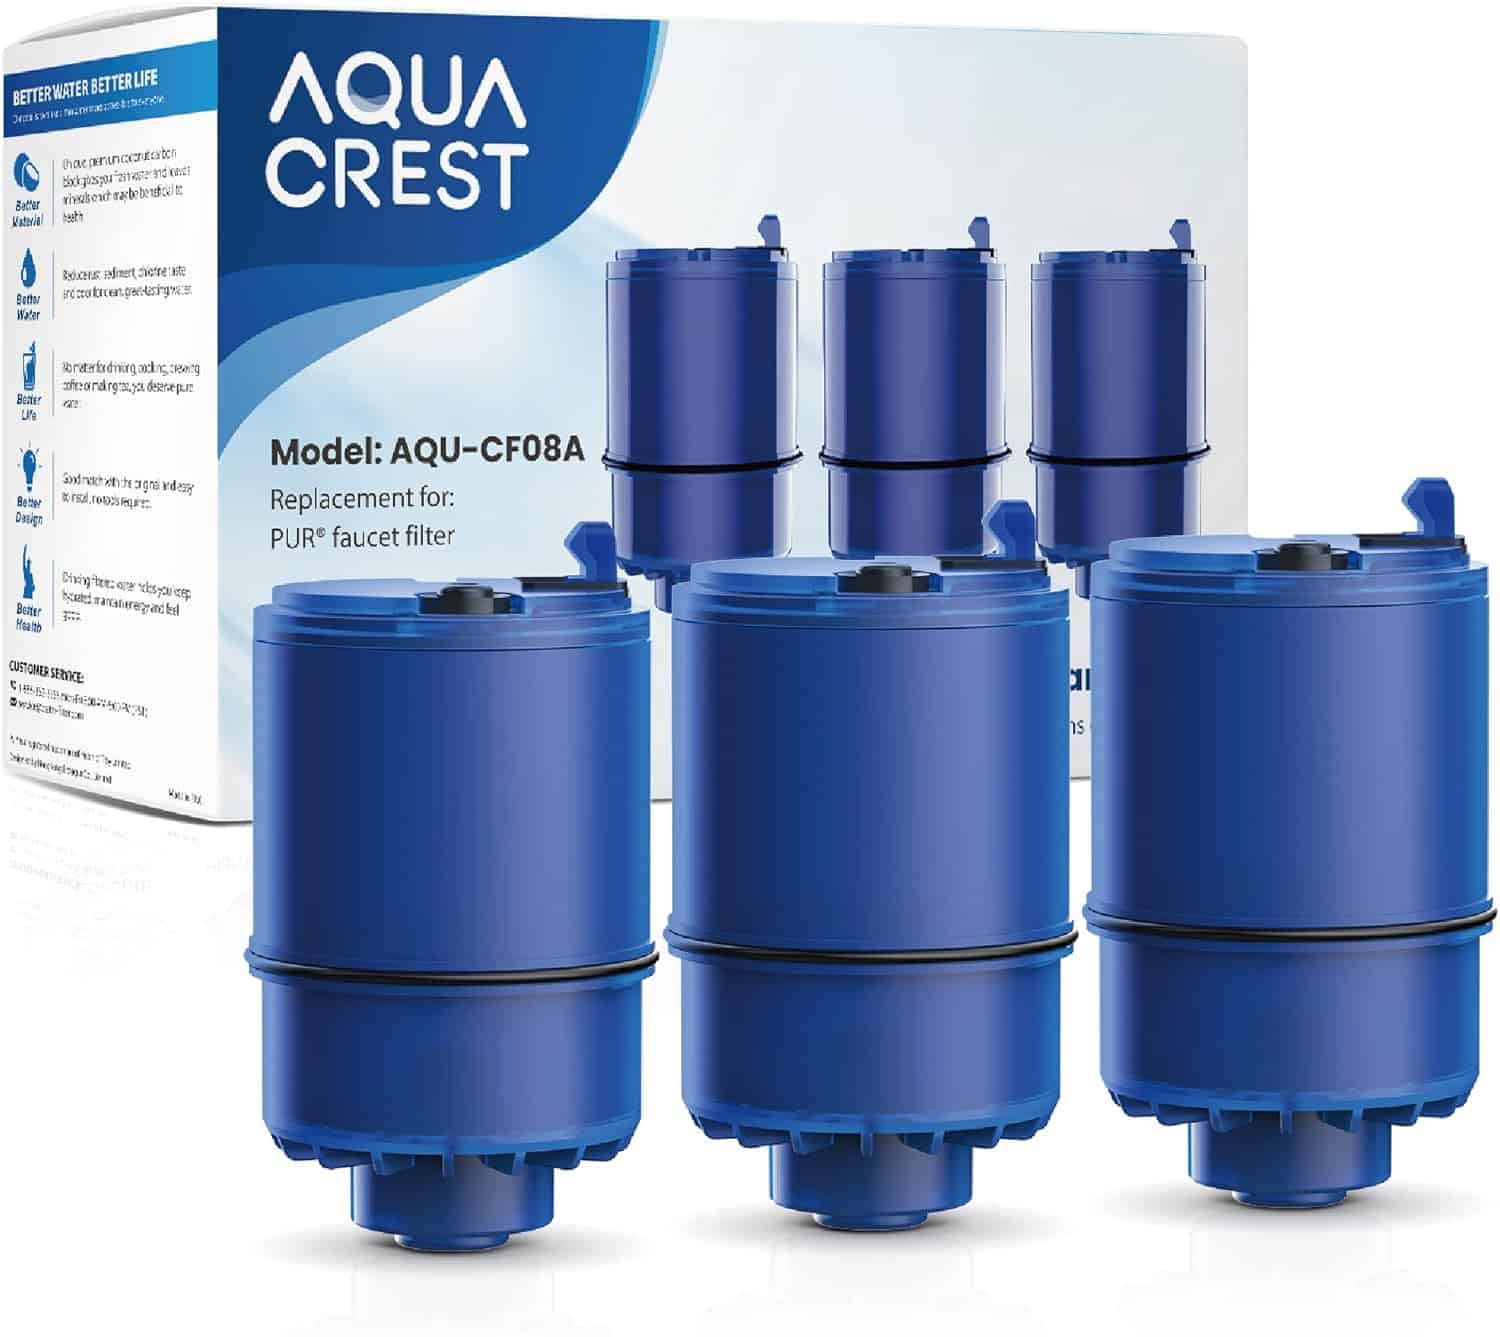
The cost of replacement filter cartridges should also be taken into consideration, as these will need to be replaced periodically to maintain the effectiveness of the filtration system. The frequency of filter replacements can vary depending on the filter’s capacity and the quality of the water being filtered. Replacement cartridges typically range from $20 to $100 each, and it’s advisable to check the manufacturer’s recommendations for the specific filter you choose.
If you are not confident in your plumbing skills, you may need to hire a professional to install the under-the-sink water filter, which can add to the overall cost. However, many filters come with detailed installation instructions, making it possible to install them as a DIY project.
It’s important to consider your specific filtration needs and budget when choosing an under-the-sink water filter. Researching different brands, comparing prices, and reading customer reviews can help you find a filter that suits both your requirements and your budget.
Step 1: Gather the Necessary Tools and Materials
Before you begin the installation process, gather the following tools and materials:
– Under-the-sink water filter kit (including filter cartridge(s), housing unit, and necessary connectors)
– Adjustable wrench
– Screwdriver
– Teflon tape
– Bucket or towels (to catch any water spills)
– Pliers (if required)
Step 2: Choose an Appropriate Location
Identify a suitable location under your sink for installing the water filter. Ideally, it should be close to the water supply line and have enough space to accommodate the filter unit and any necessary plumbing connections. Ensure that there is sufficient clearance for filter replacement or maintenance.
Step 3: Shut Off the Water Supply
Before starting any plumbing work, turn off the main water supply to avoid any leaks or flooding. Locate the shut-off valve and close it by turning it clockwise. Open the faucet to drain any remaining water from the pipes.
Step 4: Install the Filter Housing
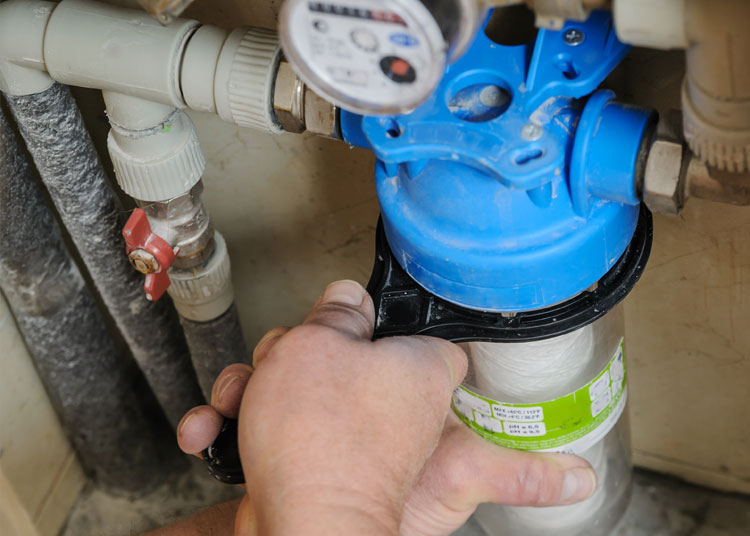
Follow the manufacturer’s instructions to install the filter housing. Typically, this involves attaching the mounting bracket to the cabinet wall and securing the housing unit onto the bracket. Ensure the housing is positioned correctly and level.
Step 5: Connect the Water Supply Line
Using an adjustable wrench, disconnect the cold water supply line from the shut-off valve. Wrap Teflon tape around the threaded ends of the supply line and the connector provided with the filter kit to ensure a watertight seal. Attach the supply line to the inlet of the filter housing and tighten it securely.
Step 6: Connect the Faucet Line
Next, connect the faucet line to the outlet of the filter housing. Again, use Teflon tape to secure the threaded ends and ensure a tight seal. Attach the faucet line to the outlet and tighten it using pliers or an adjustable wrench.
Step 7: Install the Filter Cartridge(s)
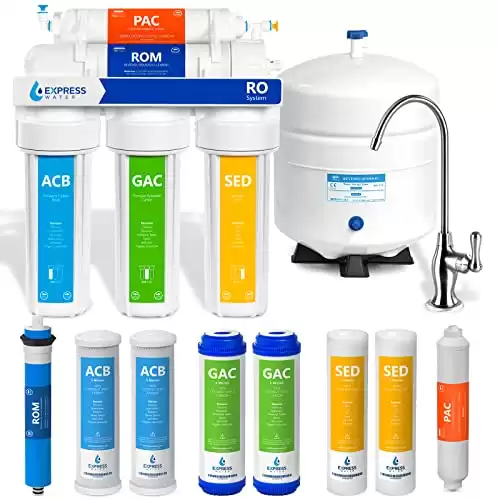
If your filter system consists of multiple cartridges, follow the manufacturer’s instructions to install them in the correct order. Some filters may require pre-soaking or flushing before installation to remove any carbon fines or other impurities. Make sure to handle the cartridges with clean hands and avoid touching the filtering surfaces.
Step 8: Turn On the Water Supply and Check for Leaks
Slowly turn on the main water supply by reopening the shut-off valve. Keep an eye out for any leaks around the connections and the filter housing. If you notice any leaks, tighten the connections further or reapply Teflon tape as needed.
Step 9: Flush the System
Once the water supply is turned on, allow the water to flow through the system for a few minutes to flush out any air bubbles or loose particles. This will help ensure the filter is properly primed and ready for use.
Step 10: Test and Enjoy Clean Water
Finally, turn on the faucet connected to the filter system and let the water run for a few minutes to clear out any remaining impurities. Taste the water to verify its improved quality and enjoy the benefits of having clean and fresh water conveniently available in your home.
FAQs and Answers for Installing Under the Sink Water Filters
FAQ 1: Do I need professional help to install a water filter?
Answer: It depends on your comfort level and experience with plumbing. Most under-the-sink water filters can be installed as a DIY project, as they come with detailed instructions. However, if you’re unsure or not confident in your skills, it’s advisable to hire a professional plumber.
FAQ 2: How long does it take to install a water filter?
Answer: The installation time can vary depending on your familiarity with plumbing tasks and the complexity of the system. On average, it can take anywhere from 30 minutes to a couple of hours.
FAQ 3: Can I install a water filter if I have limited space under my sink?
Answer: Yes, there are compact and space-saving water filter options available that can fit even in smaller spaces. Consider researching and selecting a filter specifically designed for under-the-sink installations with limited space.
FAQ 4: What tools do I need to install a water filter?
Answer: The tools required for installation may vary depending on the specific filter and plumbing setup, but typically, you will need an adjustable wrench, screwdriver, pliers, Teflon tape, and possibly a bucket or towels for any water spills.
FAQ 5: Do I need to shut off the main water supply before installing a water filter?
Answer: Yes, it is important to shut off the main water supply before beginning the installation process. Locate the shut-off valve and turn it clockwise to close it. This will prevent any water leaks while working on the plumbing connections.
FAQ 6: How often do I need to replace the filter cartridges?
Answer: The frequency of filter cartridge replacements varies depending on the filter’s capacity and the quality of the water being filtered. Typically, filter cartridges need to be replaced every 3 to 6 months, but it’s best to refer to the manufacturer’s recommendations for your specific filter.
FAQ 7: Can I use my existing faucet with an under-the-sink water filter?
Answer: In most cases, you can still use your existing faucet. The water filter installation will include connecting the filter system to the cold water supply line and adding a dedicated faucet line for filtered water, which can be installed alongside your existing faucet.
FAQ 8: How do I know if my water filter is installed correctly?
Answer: After installation, check for any leaks around the connections and ensure the filter housing is secure. Turn on the water supply and check that water flows smoothly through the filter and the dedicated faucet. You should also check the manufacturer’s instructions for any specific indications of proper installation.
FAQ 9: Can I install a water filter if I have little plumbing experience?
Answer: Yes, many under-the-sink water filters are designed for easy installation, even for those with limited plumbing experience. Follow the manufacturer’s instructions carefully, and if you encounter any difficulties, it’s always a good idea to seek assistance from a professional plumber.
FAQ 10: Are there any maintenance requirements after installing a water filter?
Answer: Regular maintenance typically involves replacing the filter cartridges according to the manufacturer’s recommendations and occasionally cleaning or sanitizing the filter housing. Refer to the specific maintenance instructions provided by the filter manufacturer to ensure optimal performance.
Remember, it’s always a good idea to consult the installation instructions provided by the manufacturer of your specific water filter model for detailed guidance on the installation process.
Summary
Installing under-the-sink water filters is a practical and effective way to enhance the quality of your drinking water. By following this step-by-step guide, you can easily set up your own filtration system and enjoy clean and fresh water right from your kitchen sink. Remember to consult the specific instructions provided by your filter’s manufacturer for any additional details or considerations. With a little effort and minimal investment, you can take a significant step towards a healthier and more enjoyable water-drinking experience.

