How to Repair a Cracked Tile: A Step-by-Step Guide
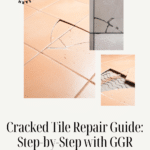
Cracked tiles can be an eyesore and a potential hazard in your home. Fortunately, you don’t always have to replace the entire floor or wall to fix a cracked tile. With a few simple tools and some patience, you can repair a cracked tile yourself and restore the beauty of your space. In this step-by-step guide, we’ll walk you through repairing a cracked tile, from assessing the damage to applying a seamless repair.
Assessing the Cracked Tile Damage
Before diving into the repair process, it’s essential to evaluate the extent of the damage to determine the best course of action. Here’s what you should do:
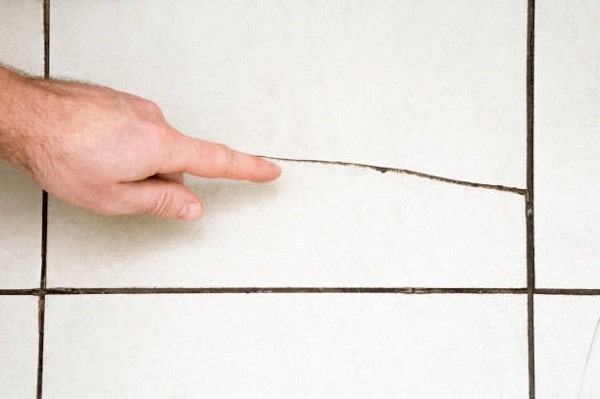
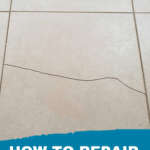
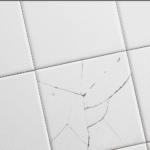
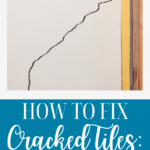
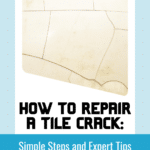
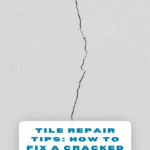
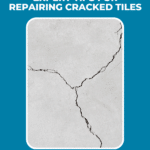
1. Inspect the Crack: Examine the crack closely to determine its size and location. Surface cracks may be easier to fix than deep cracks that extend through the entire tile.
2. Check for Loose Tiles: Tap gently around the cracked tile to see if any adjacent tiles are loose or damaged. Addressing loose tiles is crucial to ensure a stable repair.
3. Assess Surrounding Grout: Examine the condition of the grout around the cracked tile. Cracked or deteriorating grout may require repair or replacement alongside the tile fix.
Removing the Cracked Tile
Once you’ve assessed the damage and decided to proceed with the repair, the next step is to remove the cracked tile. Follow these steps:
1. Safety Precautions: Wear protective gloves and safety glasses to prevent any injuries while working with broken tiles.
2. Loosen the Grout: Use a grout saw or a rotary tool with a grout removal attachment to carefully remove the grout surrounding the cracked tile. Take your time to avoid damaging adjacent tiles.
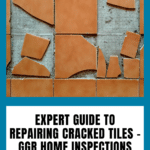
3. Breaking the Tile: Place a piece of cloth over the cracked tile and gently tap it with a hammer to break it into smaller pieces. Dispose of the broken tile fragments safely.
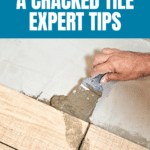
4. Remove Tile Adhesive: Use a chisel or a putty knife to scrape off any remaining tile adhesive from the surface. Ensure the area is clean and smooth before proceeding.
Preparing for Tile Installation
With the damaged tile removed, it’s time to prepare the surface for the new tile installation. Follow these steps:
1. Clean the Area: Thoroughly clean the exposed surface and surrounding tiles with a mild detergent and warm water. Remove any dirt, grime, or debris, and let it dry completely.
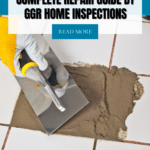
2. Apply Tile Adhesive: Use a notched trowel to spread a layer of tile adhesive onto the clean surface. Ensure the adhesive is evenly spread and covers the entire area where the new tile will be placed.
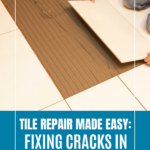
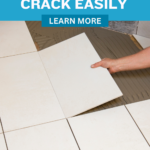
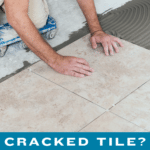
3. Positioning the Tile: Carefully place the new tile into the adhesive, aligning it with the surrounding tiles. Press it firmly into place, ensuring it sits flush with the adjacent tiles.
4. Allow for Curing: Let the adhesive dry and cure according to the manufacturer’s instructions. Avoid walking on the repaired area until the adhesive has fully set.
Grouting and Finishing
Once the adhesive has cured, it’s time to apply grout and finish the repair. Follow these final steps:
1. Mixing the Grout: Prepare the grout mixture according to the manufacturer’s instructions. Aim for a consistency similar to toothpaste.
2. Applying the Grout: Use a rubber grout float to spread the grout mixture diagonally across the tile, ensuring it fills the gaps completely. Remove excess grout from the tile surface using the edge of the float.
3. Cleaning the Tiles: Wait for
the grout to dry for a few minutes and then wipe the tile surface with a damp sponge, removing any excess grout. Rinse the sponge frequently and avoid applying too much pressure to avoid dislodging the grout.
4. Final Touches: Once the grout has fully dried, polish the tile surface with a clean, dry cloth to remove any grout haze. You can also apply a tile sealer for added protection and to enhance the tile’s appearance.
To repair a cracked tile, you’ll need a few tools to ensure a successful repair. Here are the essential tools you’ll need:
1. Safety Equipment:
– Safety glasses: Protect your eyes from any flying debris or tile fragments.
– Gloves: Wear gloves to protect your hands from sharp edges and tile shards.
2. Grout and Tile Removal:
– Grout saw or rotary tool with a grout removal attachment: Used to remove the grout around the cracked tile.
– Hammer: Use a hammer with a piece of cloth to gently break the cracked tile into smaller pieces.
– Chisel or putty knife: Required to scrape off any remaining tile adhesive from the surface.
3. Tile Installation:
– Tile adhesive: Choose a tile adhesive suitable for the type of tile you are installing.
– Notched trowel: Used to spread the tile adhesive evenly on the surface.
– Level: Ensure the new tile sits flush with the surrounding tiles by using a level to check for evenness.
4. Grouting and Finishing:
– Grout mixture: Select a grout color that matches the existing grout or complements the tile.
– Rubber grout float: Used to spread the grout mixture and fill the gaps between the tiles.
– Sponge: Use a damp sponge to clean the tiles and remove excess grout.
– Clean, dry cloth: Use a cloth to polish the tile surface and remove any grout haze.
Optional tools:
– Tile sealer: If desired, you can apply a tile sealer to enhance the tile’s appearance and provide additional protection.
– Tile cutter or tile nippers: Necessary if you need to trim or shape tiles to fit specific areas.
It’s important to note that the tools required may vary slightly depending on the specific repair project and the type of tile being worked with. Always refer to the manufacturer’s instructions and guidelines for any specialized tools or materials recommended for your specific tile repair.
Summary: How to Repair A Cracked Tile
Repairing a cracked tile doesn’t have to be a daunting task. With the right tools, materials, and a bit of patience, you can successfully fix cracked tiles and restore the beauty of your space. Remember to take your time, follow the steps carefully, and prioritize safety throughout the process. By following this step-by-step guide, you’ll be well on your way to a seamless tile repair that will leave your home looking as good as new.

