How to Remove Wallpaper Fast with Ease Guide
Adding wallpaper to your walls can bring any room a fresh and vibrant look. However, there may come a time when you want to update your decor or remove old, worn-out wallpaper. While it may seem like a daunting task, with the right tools and techniques, you can easily remove wallpaper and prepare your walls for a new, exciting transformation. In this blog, we’ll guide you through the step-by-step process of removing wallpaper, from gathering the necessary tools to understanding different types of wallpaper.
Tools You’ll Need to Remove Wallpaper Fast:
Before embarking on your wallpaper removal journey, it’s important to gather the following tools:
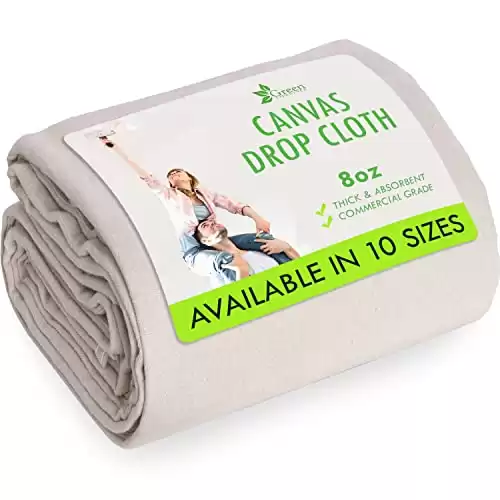
1. Drop cloths or plastic sheets: These will protect your floors and furniture from any debris or moisture during the process.
2. Painter’s tape: Use it to secure the drop cloths or plastic sheets in place.
3. Utility knife: A sharp utility knife will help you make precise cuts and access hard-to-reach areas.
4. Wallpaper scorer: This tool creates small perforations in the wallpaper, allowing the removal solution to penetrate and loosen the adhesive.
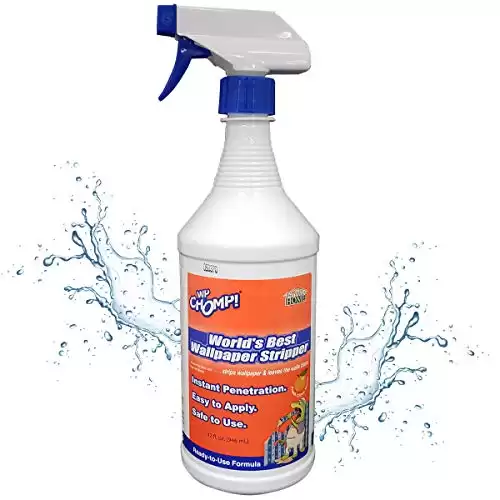
5. Wallpaper removal solution: You can either purchase a commercial wallpaper removal solution or make your own by mixing warm water and a small amount of dishwashing liquid or vinegar.
6. Pump sprayer or sponge: Use these to apply the removal solution to the wallpaper.
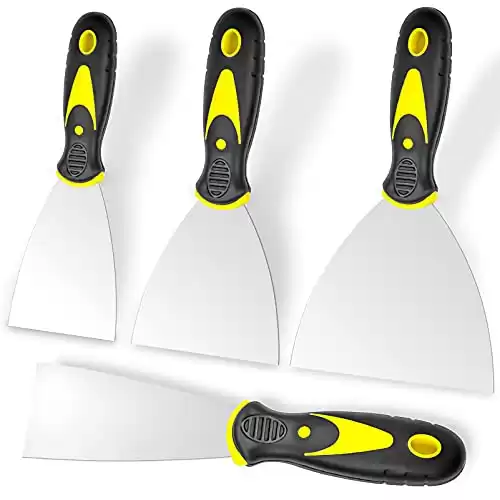
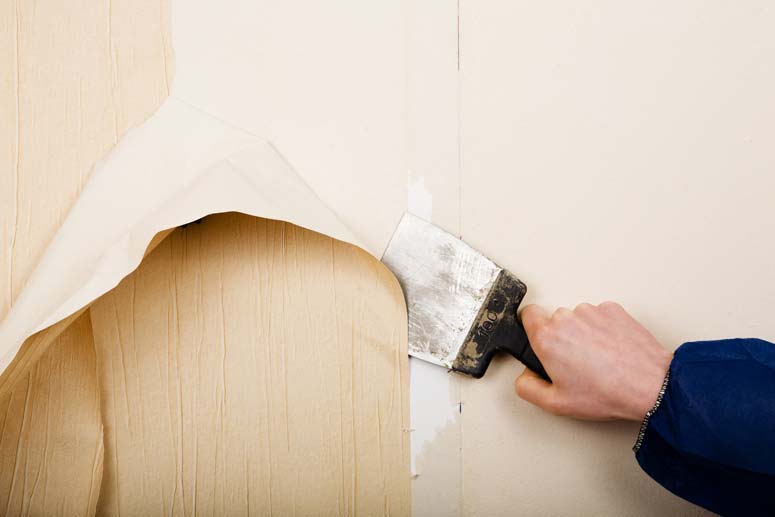
7. Putty knife or scraper: These tools will help you gently lift and scrape off the wallpaper.
8. Sandpaper or sanding block: You may need these to smooth the wall surface after removing the wallpaper.
9. Clean cloth or sponge: Use it to wipe down the walls after the wallpaper has been removed.
|
|
|
|
Types of Wallpaper:
Understanding the type of wallpaper you have will help you determine the best approach for removal. Here are a few common types of wallpaper:
1. Peelable wallpaper: This type of wallpaper has a top layer that can be easily peeled off, leaving behind a paper backing. Simply grasp a corner and peel it away, starting from the bottom.
2. Strippable wallpaper: Similar to peelable wallpaper, strippable wallpaper can be removed by pulling it away from the wall, usually in full sheets.
3. Traditional wallpaper: This type of wallpaper is adhered to the wall with a strong adhesive. It requires more effort to remove, as the adhesive may need to be softened or scraped off.
4. Vinyl-coated wallpaper: These wallpapers have a protective vinyl layer that makes them more resistant to moisture. Removing them usually involves peeling off the top layer and then removing the paper backing.
5. Fabric-backed wallpaper: With a fabric backing, this type of wallpaper is often more challenging to remove. It may require scoring, soaking, and careful scraping to ensure all layers are removed.
Step-by-Step Wallpaper Removal Process:
Now that you’re equipped with the necessary tools and have an understanding of different wallpaper types, let’s dive into the step-by-step process of removing wallpaper:
Step 1: Prepare the room:
Cover your floors and furniture with drop cloths or plastic sheets to protect them from debris and moisture. Use painter’s tape to secure them in place.
Step 2: Test a small area:
Before starting the removal process, test a small area of the wallpaper to determine the best approach. Try peeling or scraping it to see how easily it comes off.
Step 3: Score the wallpaper:
For traditional, vinyl-coated, or fabric-backed wallpapers, use a wallpaper scorer to create small perforations on the surface. This allows the removal solution to penetrate and loosen the adhesive.
Step 4: Apply the removal solution:
Using a pump sprayer or sponge, apply the wallpaper removal solution generously to the scored wallpaper. Allow it to soak for the recommended time specified on the solution’s packaging.
Step 5: Start removing the wallpaper:
Begin at a corner or seam and gently lift the wallpaper using a putty knife or scraper. Gradually work your way across the wall, applying more removal solution as needed. For peelable or strippable wallpaper, simply peel it away from the wall in full sheets.
Step 6: Scrape and clean the walls:
If any adhesive residue remains on the walls, use a putty knife or scraper to gently scrape it off. Once the wallpaper and adhesive are removed, use a clean cloth or sponge dampened with warm water to wipe down the walls and remove any remaining residue.
Step 7: Sand and prepare for the next step:
If the wall surface is uneven or damaged, use sandpaper or a sanding block to smooth it out. Once the walls are dry and smooth, they’re ready for a fresh coat of paint or a new wallpaper.
Repair Damaged Drywall
To repair damaged drywall, you’ll need the following tools:
1. Utility knife: Used for cutting away damaged or loose drywall.
2. Putty knife: Used for applying joint compound and smoothing the surface.
3. Drywall saw or keyhole saw: Used for making cutouts in the drywall.
4. Screwdriver: Used to remove screws or nails from the damaged area.
5. Sanding block or sandpaper: Used for smoothing the repaired area.
6. Joint compound: Also known as “mud,” it is used to fill gaps, cracks, and holes in the drywall.
7. Drywall tape: Used to reinforce joints and seams.
8. Drywall screws or nails: Used to secure the new drywall patch or damaged area.
9. Drywall primer and paint: Used to finish the repaired area to match the surrounding wall.
Here’s a step-by-step guide to repairing damaged drywall:
1. Prepare the area: Remove any loose or damaged drywall by cutting around the damaged section with a utility knife. Be careful not to cut into the underlying studs or framing.
2. Create a patch: Cut a new piece of drywall slightly larger than the damaged area. You can use a drywall saw or keyhole saw to make precise cuts.
3. Attach the patch: Secure the patch to the studs or framing behind the damaged area using drywall screws or nails. Place the fasteners about every 6 inches along the edges of the patch.
4. Apply joint compound: Use a putty knife to spread a thin layer of joint compound over the seams and the screw or nail indentations. Extend the compound slightly beyond the edges of the patch to create a smooth transition.
5. Apply drywall tape: Press a strip of drywall tape into the wet joint compound, covering the seams. Use the putty knife to smooth it out and remove any air bubbles.
6. Apply additional layers: Allow the first layer of joint compound and tape to dry completely. Apply a second and third layer of compound, feathering the edges outward to blend it with the surrounding wall. Let each layer dry before applying the next.
7. Sand and smooth: Once the final layer of compound is dry, use a sanding block or sandpaper to smooth the repaired area. Be careful not to over-sand and damage the surrounding wall.
8. Prime and paint: Apply a coat of drywall primer to the repaired area and let it dry. Then, paint the area to match the surrounding wall. Feather the paint outward to blend it seamlessly.
Remember to follow safety precautions such as wearing goggles and a dust mask when working with drywall, and ensure proper ventilation in the area.
|
|
|
|
Summary: Removing Wallpaper Fast
Removing wallpaper can be a rewarding experience that breathes new life into your living space. By following these step-by-step instructions and utilizing the appropriate tools, you’ll be well on your way to achieving a clean, blank canvas for your next creative endeavor. Remember to take your time, be patient, and enjoy the process of transforming your walls into something new and exciting!

